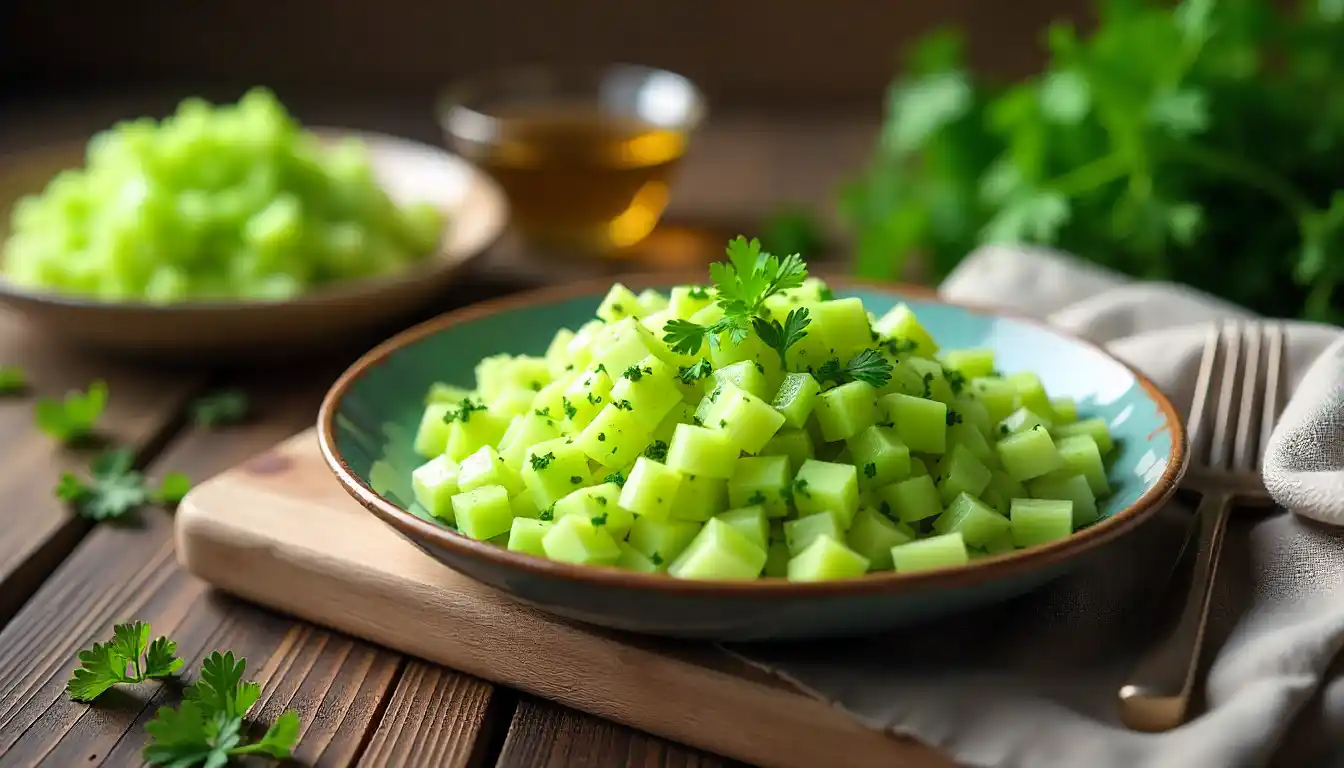
Pravi celer, a traditional Serbian celery salad, is a refreshing and crunchy dish that brings a burst of flavor to any meal. It’s simple, vibrant, and perfect for those who love fresh vegetables with a tangy twist. If you’ve never tried it before, this guide will walk you through every step to create an authentic, mouthwatering pravi celer right in your own kitchen.
What Is Pravi Celer?
Pravi celer translates to “real celery” in Serbian, and it’s a salad that highlights celery’s natural crispness and subtle bitterness. Unlike typical celery salads that might drown the vegetable in heavy dressings, pravi celer keeps things light and bright. The salad usually combines finely chopped celery stalks with fresh herbs, a splash of vinegar, and a touch of oil. The result is a dish that’s both refreshing and slightly tangy—ideal as a side or even a light snack.
It’s a staple in Serbian households, often served at family gatherings or alongside grilled meats and hearty stews. The simplicity of the ingredients lets the celery shine, making it a perfect example of how minimalism in cooking can lead to maximum flavor.
In addition to its refreshing taste, pravi celer is also celebrated for its health benefits. Celery is low in calories yet rich in vitamins and minerals, particularly vitamin K, which is essential for bone health. The high water content in celery helps with hydration, making this salad not only a delicious choice but a nutritious one as well. Many families add variations to their recipes, incorporating ingredients like diced apples or walnuts for added texture and flavor, showcasing the versatility of this humble vegetable.
Furthermore, the preparation of pravi celer often becomes a communal activity, with family members gathering in the kitchen to chop and mix the ingredients. This shared experience not only strengthens family bonds but also passes down culinary traditions from one generation to the next. As each family has its unique twist on the recipe, it becomes a reflection of personal tastes and regional influences, making every serving of pravi celer a unique culinary story waiting to be told.
Gathering Your Ingredients
Before diving into the preparation, it’s important to have all your ingredients ready. Pravi celer is all about freshness, so choose your produce carefully. Fresh ingredients not only enhance the flavor but also contribute to the overall health benefits of the dish. When selecting celery, look for stalks that are firm and have a vibrant green color, as these are indicators of peak freshness. The same goes for parsley; it should be bright and aromatic, signaling its potency in flavor.
What You’ll Need
- Fresh celery stalks: About 4-5 large stalks, crisp and bright green.
- Fresh parsley: A small bunch, finely chopped.
- Garlic: 1-2 cloves, minced.
- White vinegar: 2-3 tablespoons, for that signature tang.
- Sunflower or olive oil: 3 tablespoons, to add smoothness.
- Salt: To taste, usually about 1 teaspoon.
- Black pepper: Freshly ground, to taste.
Optional ingredients include a pinch of sugar to balance the acidity and a few chili flakes if you like a little heat. However, the traditional recipe keeps it straightforward. If you’re feeling adventurous, consider adding a squeeze of lemon juice for an extra layer of brightness, or even some diced bell peppers for a colorful crunch. Each of these additions can elevate the dish and provide a unique twist while still honoring the classic flavors of the original recipe.
When preparing your ingredients, take a moment to appreciate the vibrant colors and textures that each component brings to the table. The crispness of the celery, the lush green of the parsley, and the pungent aroma of garlic all play a crucial role in creating a harmonious dish. As you chop and mix, let your senses guide you—this is not just about following a recipe, but about creating a delightful experience that celebrates the freshness and simplicity of the ingredients. Remember, the key to a great Pravi celer lies in the quality of your produce, so don’t hesitate to visit your local farmers’ market for the best selections.
Preparing the Celery
The way you prepare the celery makes all the difference. The goal is to maintain its crunch while allowing the flavors to meld beautifully.
Step 1: Wash and Trim
Start by rinsing the celery stalks under cold water. Celery can sometimes hold dirt in its ribs, so give it a good scrub. Trim off the base and the leafy tops. While the leaves are edible and flavorful, they’re usually reserved for soups or garnishes rather than this salad. Additionally, when selecting celery, look for stalks that are firm and crisp, with vibrant green color. Avoid any that appear wilted or have brown spots, as these can indicate age and loss of flavor.
Step 2: Slice Thinly
Using a sharp knife, slice the celery stalks as thinly as possible. Thin slices ensure the salad isn’t too bulky and that each bite is tender yet crisp. If you want an even finer texture, you can use a mandoline slicer, but be careful not to slice too thin or the celery will lose its crunch. The uniformity of the slices not only enhances the visual appeal of your salad but also ensures that the dressing coats each piece evenly, allowing for a more harmonious blend of flavors.
Step 3: Optional Soak
Some cooks recommend soaking the sliced celery in ice water for 10-15 minutes to enhance the crunch. This step is optional but worth trying if you prefer your celery extra crisp. The cold water bath helps to revive the celery’s natural crispness, making it even more refreshing in your salad. After soaking, be sure to drain and pat the celery dry with a paper towel to remove excess moisture, which can dilute the dressing and affect the overall texture of the dish.
Step 4: Flavor Infusion
For an added layer of flavor, consider marinating the celery slices briefly in a mixture of lemon juice, olive oil, and a pinch of salt before adding them to your salad. This not only enhances the taste but also helps to soften the fibers slightly, making each bite a delightful combination of crunch and zest. You can also experiment with adding herbs like dill or parsley to the marinade, which will infuse the celery with a fresh, aromatic quality that complements a variety of salad ingredients.
Step 5: Pairing with Other Ingredients
Once your celery is perfectly prepared, think about how it will pair with other ingredients in your salad. Celery works wonderfully with ingredients like apples, walnuts, and blue cheese, creating a delightful contrast of textures and flavors. The sweetness of apples balances the earthiness of celery, while the crunch of walnuts adds an extra layer of texture. Don’t hesitate to get creative with your combinations; the versatility of celery allows it to shine in both simple and complex salads alike.
Mixing the Dressing
The dressing for pravi celer is simple but essential. It balances the celery’s natural bitterness with acidity and richness.
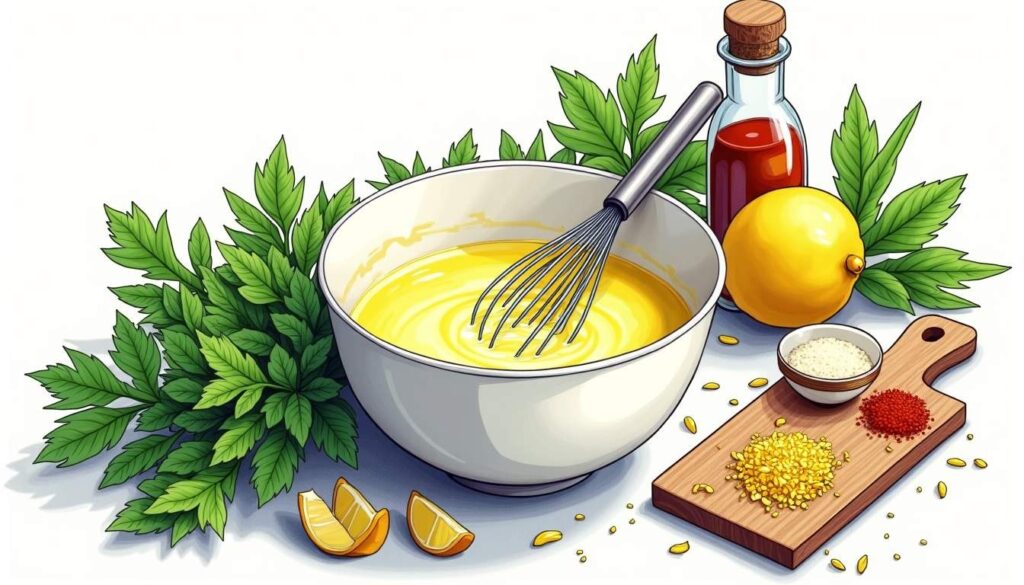
Step 1: Combine Vinegar and Oil
In a small bowl, whisk together the white vinegar and oil until they emulsify slightly. The vinegar should be sharp but not overpowering. If you find it too strong, add a pinch of sugar or a little more oil to mellow it out.
Step 2: Add Garlic and Seasonings
Mix in the minced garlic, salt, and freshly ground black pepper. Garlic adds a pungent kick that complements the celery’s freshness. Adjust the salt carefully; it draws out moisture from the celery and enhances the overall flavor.
Bringing It All Together
Now that the celery is sliced and the dressing is ready, it’s time to assemble the salad.
Step 1: Toss the Celery with Dressing
Place the sliced celery in a large mixing bowl. Pour the dressing over it and toss thoroughly to ensure every piece is coated. The dressing should lightly cling to the celery without pooling at the bottom.
Step 2: Add Fresh Parsley
Sprinkle the chopped parsley over the salad and give it one last gentle toss. Parsley adds a fresh, herbaceous note that brightens the entire dish.
Step 3: Let It Rest
For best results, cover the bowl and let the salad rest in the refrigerator for at least 30 minutes. This resting time allows the flavors to meld and the celery to soften slightly without losing its crunch.
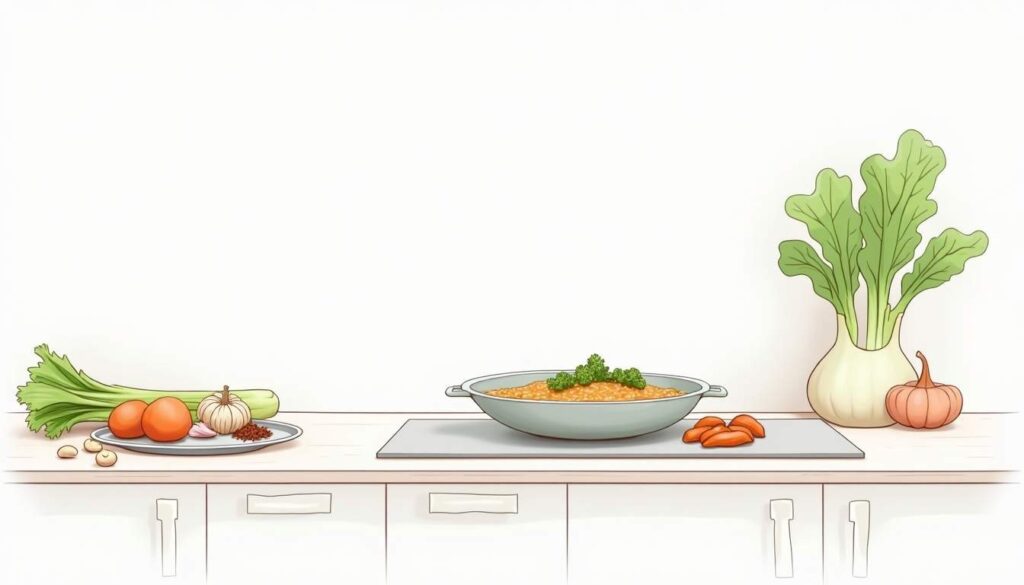
Serving Suggestions
Pravi celer is incredibly versatile. It can be served as a side dish with grilled meats, roasted vegetables, or traditional Serbian dishes like ćevapi or sarma. It also pairs well with fish or can be enjoyed as a light, healthy snack on its own.

For a more substantial meal, try adding chopped tomatoes or cucumbers to the salad. Some variations include a sprinkle of toasted walnuts or sunflower seeds for extra texture and flavor.
Tips for Perfect Pravi Celer Every Time
Getting the balance right in pravi celer takes a little practice. Here are some tips to help you nail it:
- Use fresh, firm celery: Avoid limp or yellowing stalks. Fresh celery is key to the salad’s crunch.
- Adjust acidity to taste: Vinegar levels can be tweaked depending on how tangy you like your salad.
- Don’t over-dress: Too much oil or vinegar can weigh down the celery and make the salad soggy.
- Let it rest: Allowing the salad to chill enhances the flavors and texture.
- Experiment with herbs: While parsley is traditional, dill or chives can add interesting twists.
Storing and Leftovers
If you have leftovers, store the salad in an airtight container in the refrigerator. It’s best eaten within 2 days, as celery tends to lose its crunch over time. Before serving leftovers, give the salad a quick toss and, if needed, add a splash of vinegar or oil to refresh the flavors.
Final Thoughts
Pravi celer is a testament to how simple ingredients can come together to create something truly special. With just a few fresh components and straightforward steps, you can enjoy a salad that’s crisp, tangy, and full of character. Whether you’re exploring Serbian cuisine or just looking for a new way to enjoy celery, this recipe is a winner.
Give it a try, and you might find yourself reaching for celery in a whole new way.